This documentation explains how to validate or reject conversions in bulk for your programme.
We provide two options for this:
- Directly on the conversions page by selecting the conversions.
- Via export/import of CSV files.
1. Validation via selecting conversions
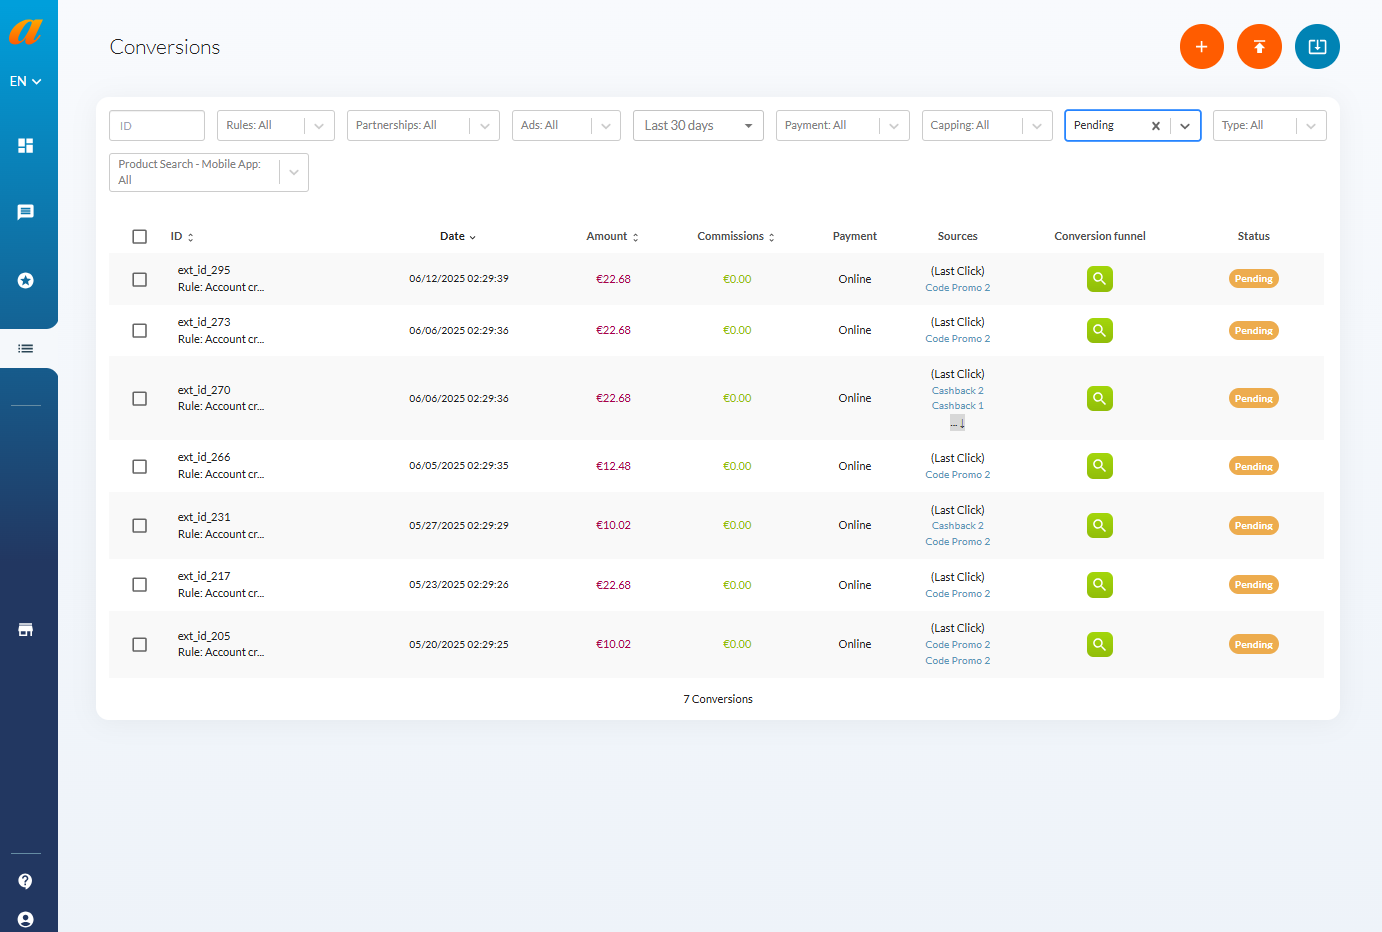
The first option allows you to quickly validate or reject pending conversions by selecting them directly in the interface.
To do this, from the conversions section, you need to check the conversions from the checkboxes on the left side of the interface. The first checkbox allows you to select all pending conversions on the current page.
Your selection persists if you change pages.
A window appears indicating the number of selected conversions.

Several options are available to you:
- Select XX other pending conversions: This allows you to select all pending conversions of the programme, regardless of time.
- Reject conversions: The window changes. The reason field appears. This field is mandatory and allows you to indicate to partners the reason for rejecting the conversions. The character limit is 1024.

- Validate conversions. Special case: If you have conversions subject to the waiting period, we give you the option to bypass this period. Thus, the conversions will be immediately locked and therefore eligible for payments.

2. Validation via CSV file.
Here are the steps to validate/reject conversions for your programme via export/import of CSV files.
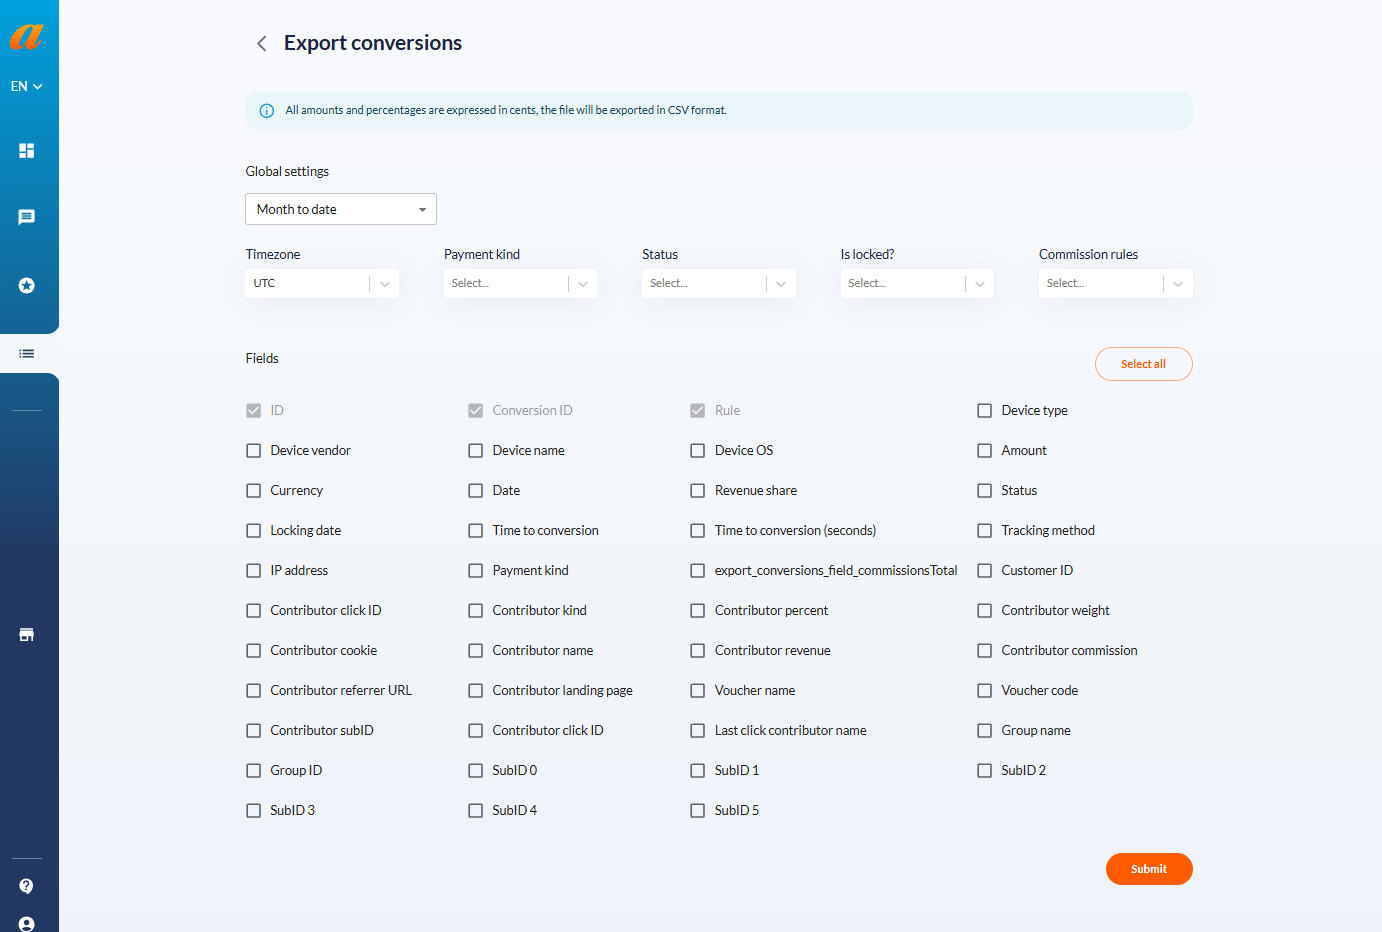
From the programme management, go to the conversions page and then to export conversions at the top right to export your conversions for a target period, you will then arrive at the following filters.

Fill in the data in the form indicating the target period, the correct status, and the correct commission rules (optional).
Then select the data you want to export via the fields section.
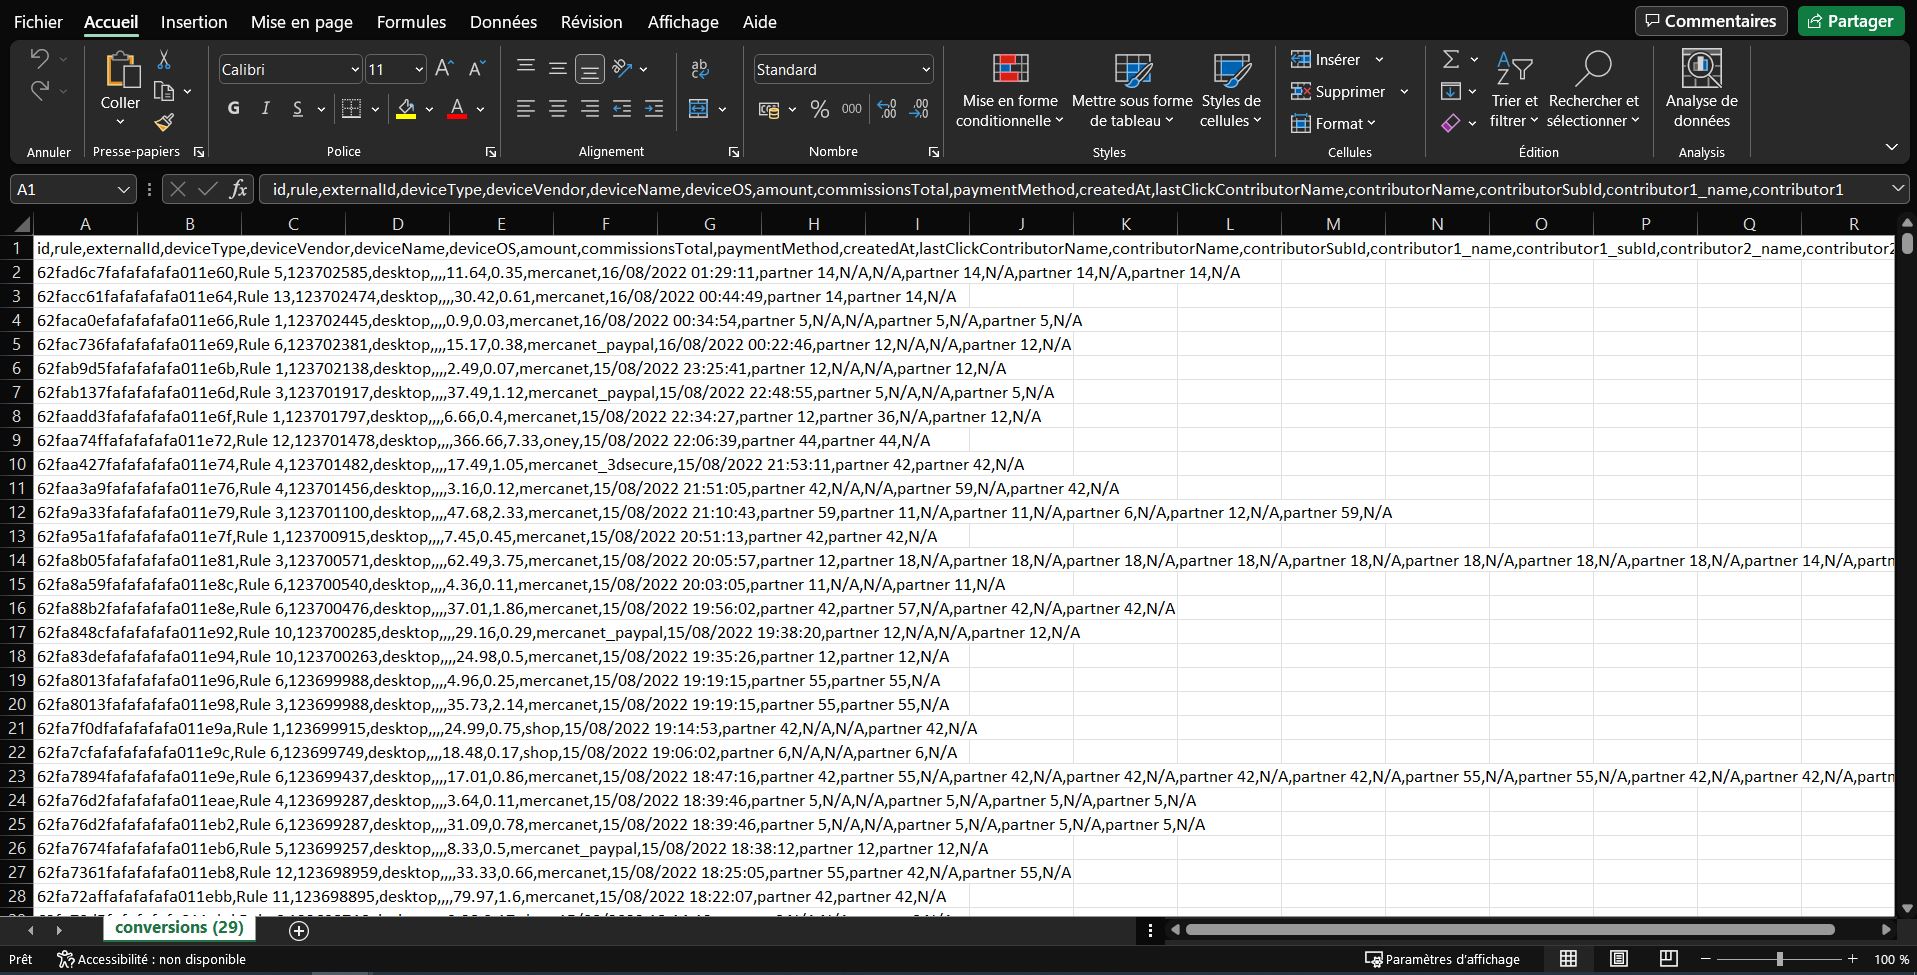
Once the file is downloaded, here’s what it should look like in EXCEL:

You now need to sort the data, for this select column A and go to data > convert > delimited > comma separator and validate to obtain a columnar format:
Once you have sorted and validated the data, you must now delete all columns except column B named “external_id”. Then delete line 1 to erase the value External_id. You should get this result: A single column, containing 1 line per “external_id”:
Then save the file in CSV Windows format (separator: semicolon)
Note: One file corresponds to one action: either validate or reject conversions. If you want to accept and reject conversions, you will then have two separate files.
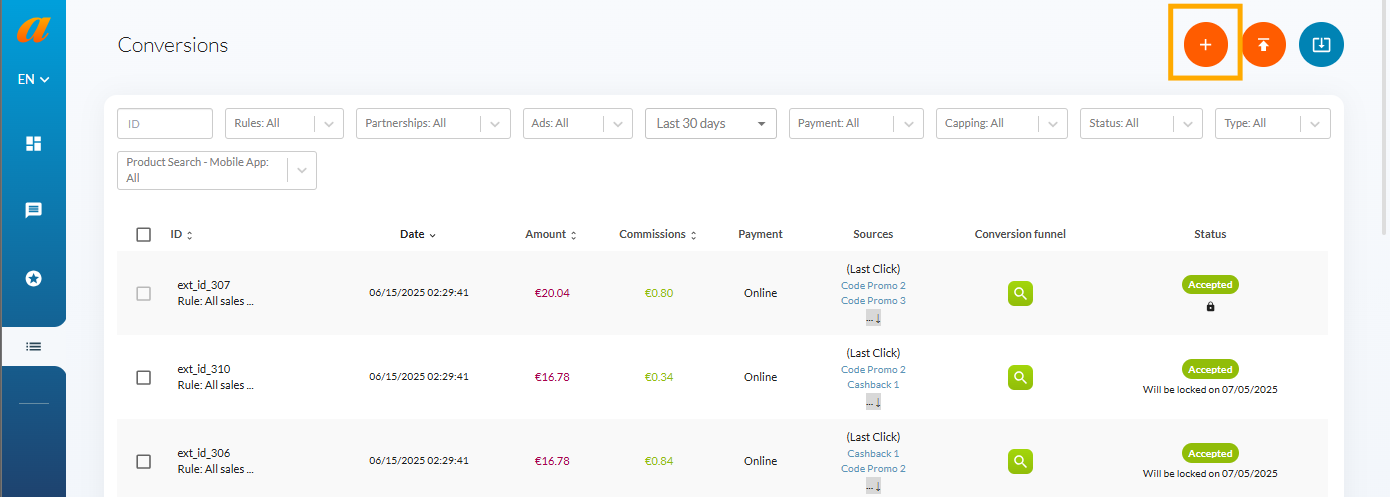
You must now import the file into Affilae, for this go to the conversions menu of your programme. Click on the configuration icon at the top right and then on Accept / reject conversions.

You now just need to choose whether you intend to accept or reject the conversions you are importing, and then select the correct file and validate everything. If you reject a conversion, you will need to provide a reason for the publishers. When validating or rejecting, you can decide whether or not to notify the publishers of this action.
Share :
Découvrez les dernières documentations
Advertisers - User interface explanation
Kolsquare: Use our synchronization to track your affiliate performance from your Kolsquare account
Advertisers - User interface explanation
How are clicks counted?
Advertisers - User interface explanation
Reporting: Explanation and Functionality
Advertisers - User interface explanation
How to Compensate for a Tracking Issue on Affilae?

